Labeling
Process
Step 1: Purchase a label maker.
Step 2: Use it consistently.
Label Makers
Personally, I prefer Brother's P-Touch label makers. There are better (companies like Brady, etc.), but they're affordable, and in my experience the actual laminated label is very durable, which is what I'm looking for. If you buy knock-off TZe labels (see random Amazon searches, etc) they're quite affordable, and also seem to be close enough in quality. Sadly, the OEM labels are very pricey. Fortunately, unlikely certain other companies (see: HP and Epson), they don't try and DRM their way to profit.
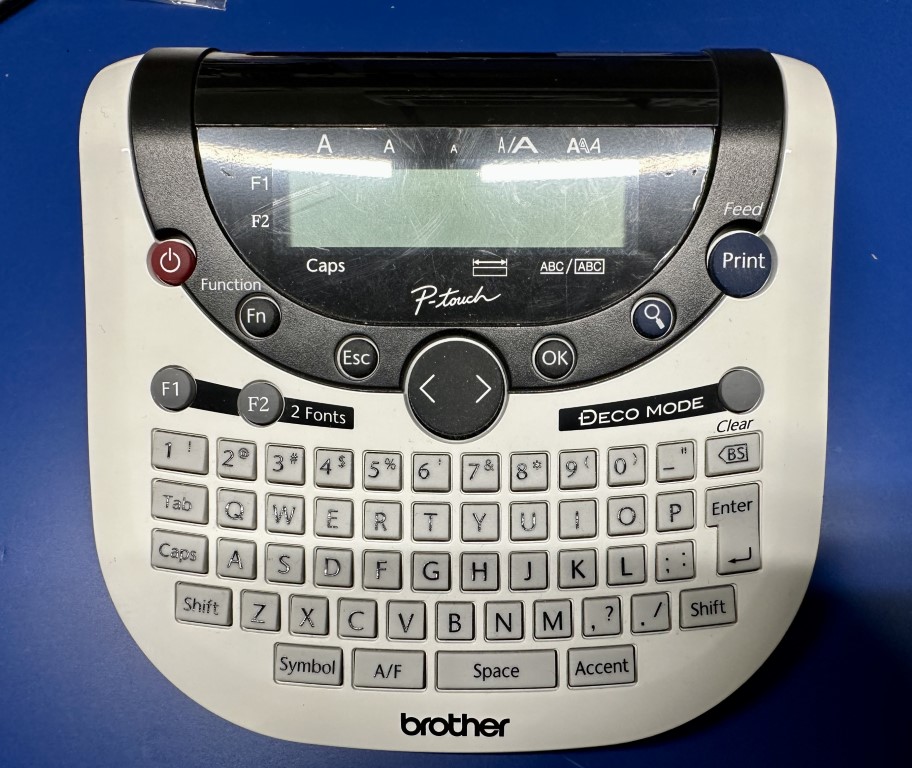
I've had 2 Brother P-Touch label makers. For many years, I used a PT-1290 which was a little handheld model (shown below). I'm pretty sure I had it for 10+ years without a single problem.
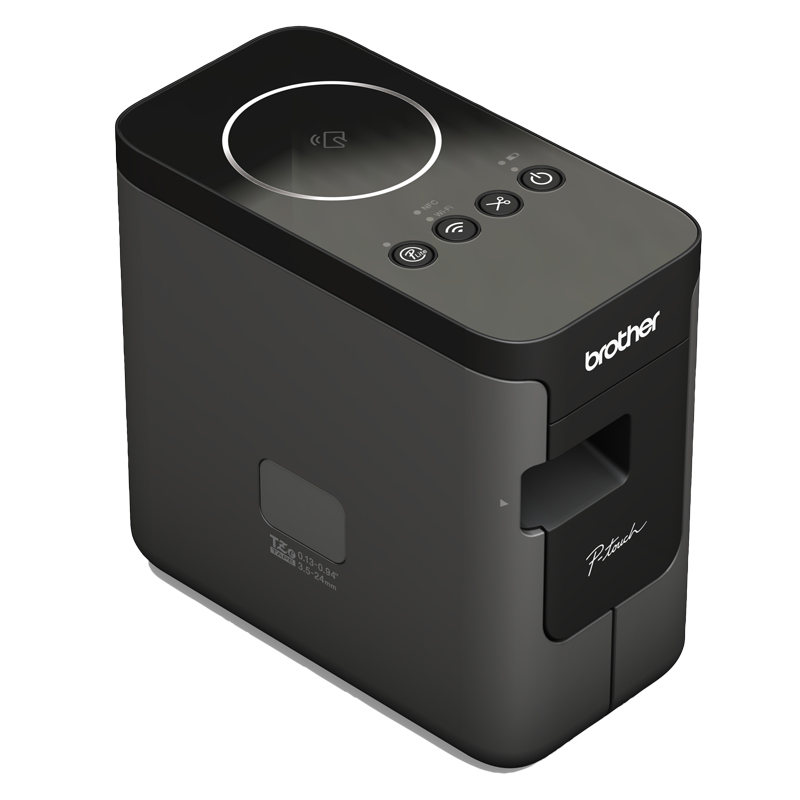
Recently, I replaced it with a PT-750W for a couple reasons:
- It plugs into my computer, and lets me print a series of labels easily.
- It plugs into power, and therefore doesn't burn through AA batteries quickly.
- It supports a much wider variety of labels. The old one couldn't handle anything except 9 and 12mm label stock.
- It's higher resolution and faster.
- I can print to it from my phone if I need to.
- It prints all kinds of bar codes correctly.
If I have any complaint, it's that opening the side door to change the print cartridge, while easy, does require picking it up as it lifts the bottom. Still, overall, I'm very happy with it.
Collecting Labels as They Print
One thing I've run into is that if you print labels, you either have to catch them by hand or bodge some arrangement to catch them in a container. I solved this by designing a catch tower, which you can see at the link.
2023-08-21: Something I discovered recently is that if you disable "auto cut" in the print options and just keep "half cut", it will do a little half cut and keep all the labels together so they're a bit easier to deal with, and you don't need the collection tower above. If you prefer to have them all separate, though, then you'll need the catch tower.
Label Layout
Github Repo
I am beginning to collect the templates that I use, as I clean them up, in this Github repository. They are specifically templates for the Brother P-Touch Editor (macOS or Windows).
This is the layout I use for inventory labels:
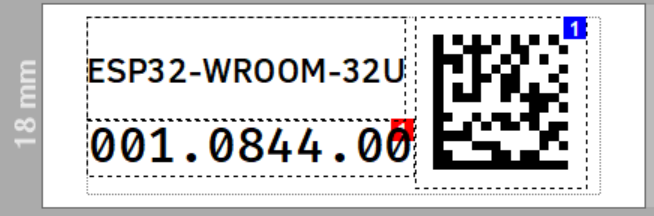
This is composed of a few things:
- A quick description of the thing being labeled: "ESP32-WROOM-32U"
- A part number:
001.0844.00 - A data matrix barcode that can be easily scanned.
On the label, you can see a two little colored boxes with the number one (1) in them. These are linked fields that mean that the data matrix 2D barcode is always up-to-date.
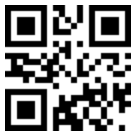
The main reason for a data matrix, rather than a QR code, is that it consumes much less real estate on the label and has a much higher information density. For example, the two barcodes below store the exact same information (the part number above).

Experiment with Data Matrix
Elsewhere, you can find an experiment at adding digital signatures to data matrix barcodes.
Barcode Scanner
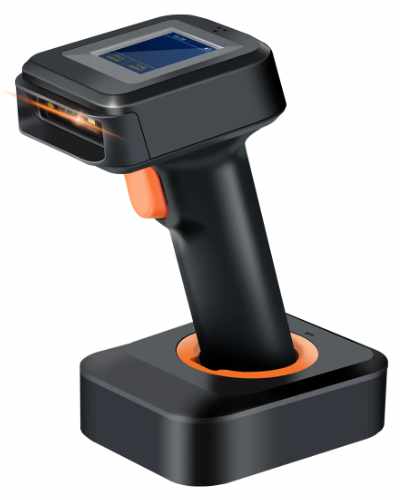
I am in the process of developing a better workflow for dealing with bar codes. Obviously, if you just print them, they serve no purpose. I'm working to try and integrate them into my inventory system so that things are more easily tracked.
The barcode scanner I am using is the Tera HW0006. Not all scanners can handle 2D codes, or even anything but a QR code. Make sure you keep that in mind. This one comes with a Li-Ion battery, charging cradle, and 2.4GHz wireless dongle (Bluetooth as well). Recognition of a data matrix seems to be well under 1/2 second.
Comments or Questions?
If you have any comments, questions, or topics you'd like to see covered, please feel free to either reach out to me on Mastodon (link below) or open an issue on Github.